To start off, our process begins each morning with our crews arriving on-site at approximately 8:30 a.m. After greeting the customer, we review the application process and then answer any questions. Our trucks are outfitted as mobile workshops with equipment and materials to tackle any challenges we may face. We come prepared so you don't have to spend time waiting.
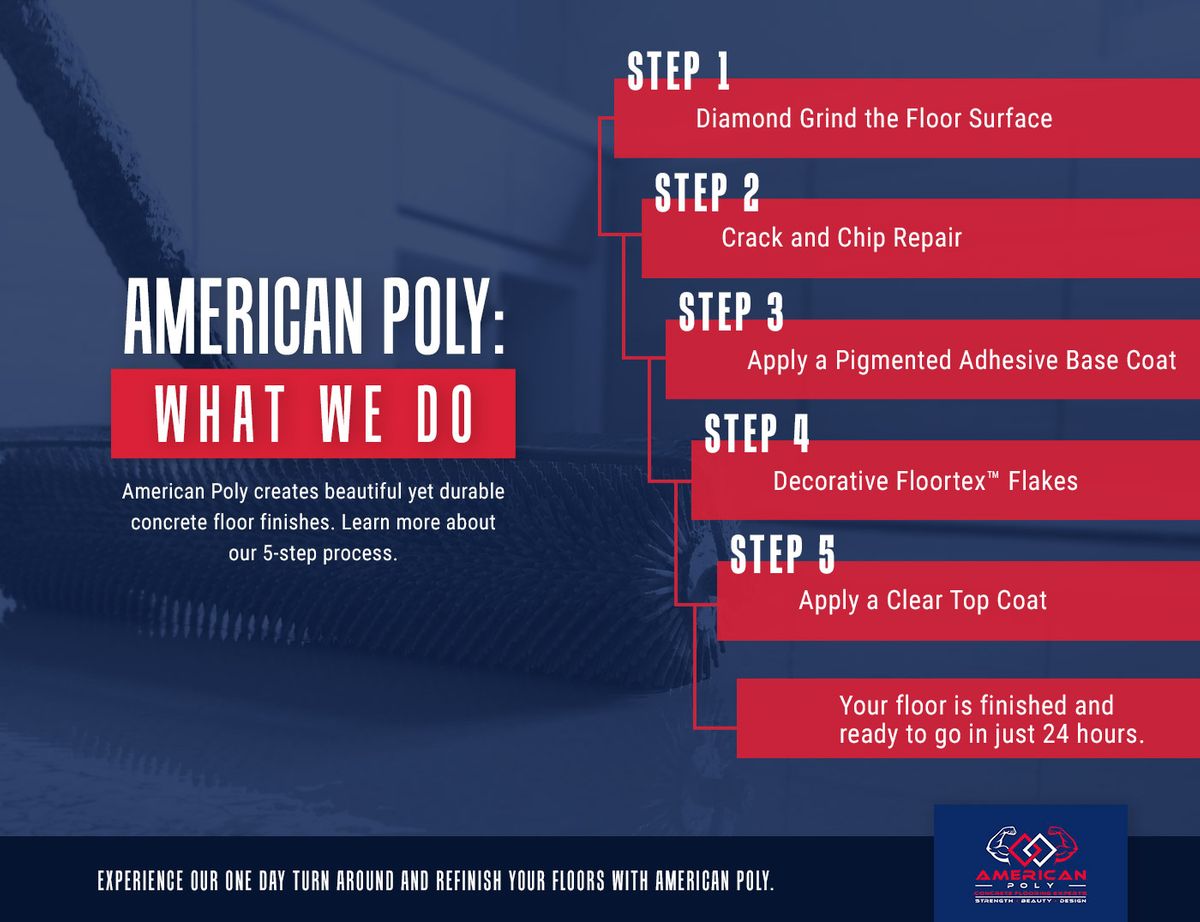
STEP 1 – DIAMOND GRIND THE FLOOR SURFACE
As with any sort of coating surface, preparation is the most important step in the process. Garage living has invested in state-of-the-art diamond grinders and dustless self-contained vacuum systems to ensure that every floor we coat achieves an unbreakable mechanical bond to the substrate. After unloading the equipment, the crew will evaluate the concrete density to select the right type of diamond blades to grind the floor.
The crew will grind the entire floor surface, which profiles the substrate and opens the pores of the concrete. The edges are ground down using a hand grinder.
This ensures every square inch of the floor is properly prepared. The coating can be applied to vertical surfaces like foundation walls, cinder block, wood baseboards, steps, and more.
Before this is complete, these vertical surfaces are ground and cleaned of any debris.
STEP 2 – CRACK AND CHIP REPAIR
Hairline cracks can naturally occur in concrete pads. These cracks must be opened using a diamond cutting wheel and then filled with a polyurea filler or cementitious mortar. Once applied, the filler cures in about 25 minutes.
The excess can be ground off so that the floor is completely smooth and cracks invisible. In many cases, the concrete floor has imperfections such as salt pits or other minor damage. These spots are also filled and ground down for a perfectly smooth surface.
With the grinding complete, the entire surface of the floor is vacuumed to remove any remaining dust or debris.
STEP 3 – PIGMENTED ADHESIVE BASE COAT
American Poly uses a Polyaspartic floor coating which is a two-component system.
Our crew mixes the two components adding pigment to the base coat that matches our customer’s choice of pre-blended vinyl flakes. The crew first rolls the base coat onto all vertical surfaces and heavily applies the flakes for consistent 100% coverage.
The excess material is vacuumed from the floor before the base coat is applied. The crew then proceeds to apply the base coat to the entire floor surface.
STEP 4 – DECORATIVE FLOORTEX™ FLAKES
One crew member will roll the coating onto the floor and the other will broadcast the vinyl flakes. To achieve 100% coverage, three times the amount of material is broadcast in this process.
Once the entire floor surface is coated and flaked, the coating requires 60 minutes to cure.
As soon as the coating has completely cured, the crew begins to remove all excess flake material.
Your floor is scraped with a flat metal-edge tool to knock down any standing flakes and make the flake base coat even and smooth. Once the entire floor is scraped it is again blown and vacuumed to remove any debris.
STEP 5 – CLEAR DURABLE TOP COAT
The clear Floortex™ top coat is applied with a squeegee and then back rolled. This process ensures that the top coat has a thick and even layer, which leaves a consistent finish that’s extremely durable.
The top coat requires eight to 24 hours to cure before foot traffic can resume and 24-96 hours before vehicles can use the garage once again. Climate also plays a role in the top coat curing time, so your design consultant will advise you based on climate factors.
Finally, our crew will clean up the entire site and load up the truck with their equipment and materials.
Get a Quote