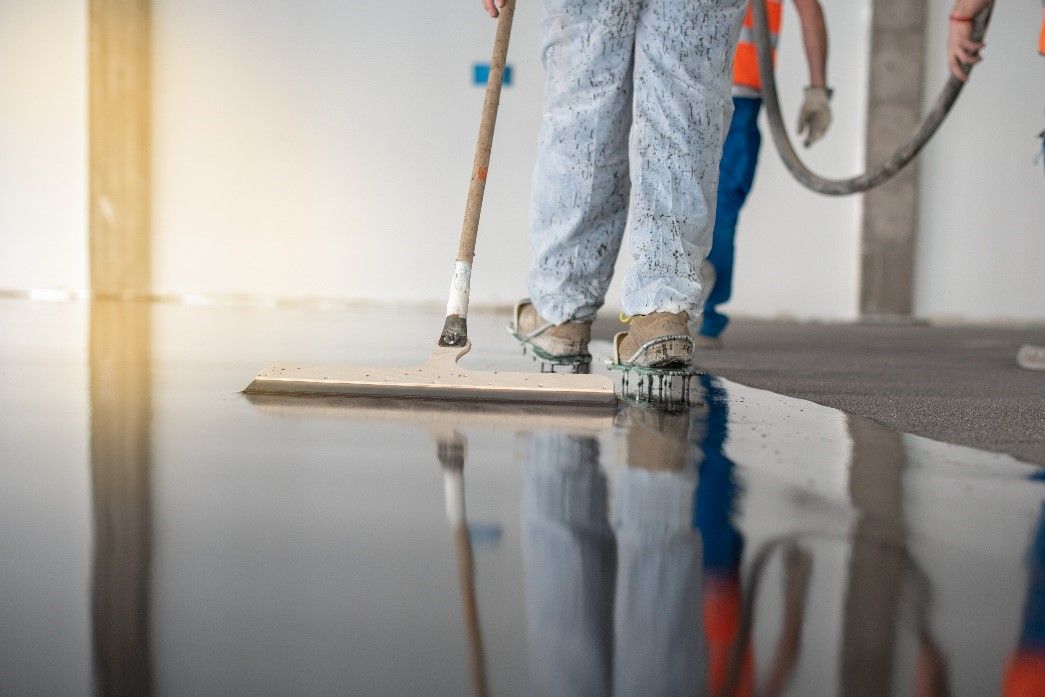
Epoxy coating is a versatile and durable solution for many different surfaces like garage and factory floors. It provides a resilient finish that can resist heavy traffic, chemicals, and different kinds of damage. But achieving the perfect epoxy floor requires careful steps for the best results. This guide will walk you through the process of epoxy floor coating preparation down to the final touches.
Surface Preparation
The foundation of every successful epoxy floor coating is in preparation. Neglecting this step can result in ineffective adhesion, bubbly surfaces, or uneven finishes.
Start by thoroughly cleaning the surface of your floor, removing dirt, grease, stains, and any other contaminants. If the floor has cracks or holes, patch them up using a filler to ensure a smooth and even surface for the epoxy coating.
Surfaces should also be roughened to make sure the epoxy adheres properly. This can be done by using a concrete grinder or by acid etching. Once you’ve done that, you should also make sure that the surface is free from any dust, debris, and moisture left over from the previous steps you’ve taken.
Surface Priming
Priming enhances the bond between the floor and the epoxy coating and seals its surface, preventing air bubbles from forming on the finished layer. Primers should be applied in sections using a roller to ensure an even and uniform application. Once it has dried, you should also conduct a close inspection of the surface for any imperfections and sand down any rough spots.
Epoxy Mixing and Application
For the application process, make sure that the epoxy resin and hardener mixture is blended thoroughly to avoid inconsistencies in the final coating. Afterward, pour the epoxy mixture onto the floor and use a notched squeegee to carefully spread it. Maintain a wet edge, and, similar to priming, work in sections to avoid lap marks on the surface.
If you’re planning on adding decorative flakes or quartz, now is your time to sprinkle them onto the wet epoxy. Once everything is done, allow the epoxy to cure for 24 to 72 hours and avoid walking on the surface during this time so there won’t be imperfections on the finish.
Topcoat Application
Applying a topcoat is necessary to achieve extra durability, a high-gloss finish, and protection from UV rays that cause yellowing over time. To do this, mix the topcoat and apply it evenly using a roller, working in sections to ensure uniform coverage of the entire surface. To allow the floor to withstand heavy use and maintain its appearance for longer, be sure to let the topcoat cure fully before using your flooring.
Reach Out to American Poly Floors for Epoxy Floor Applications
Epoxy flooring will enhance the quality of your rooms and provide your spaces with a durable surface that is aesthetically pleasing. Work with industry experts at American Poly Floors for custom epoxy floors for your home or business.

